
Optimising Results: A Guide to Clinical Preparation and Aftercare
21 September 2026 · Chevonne Stewart
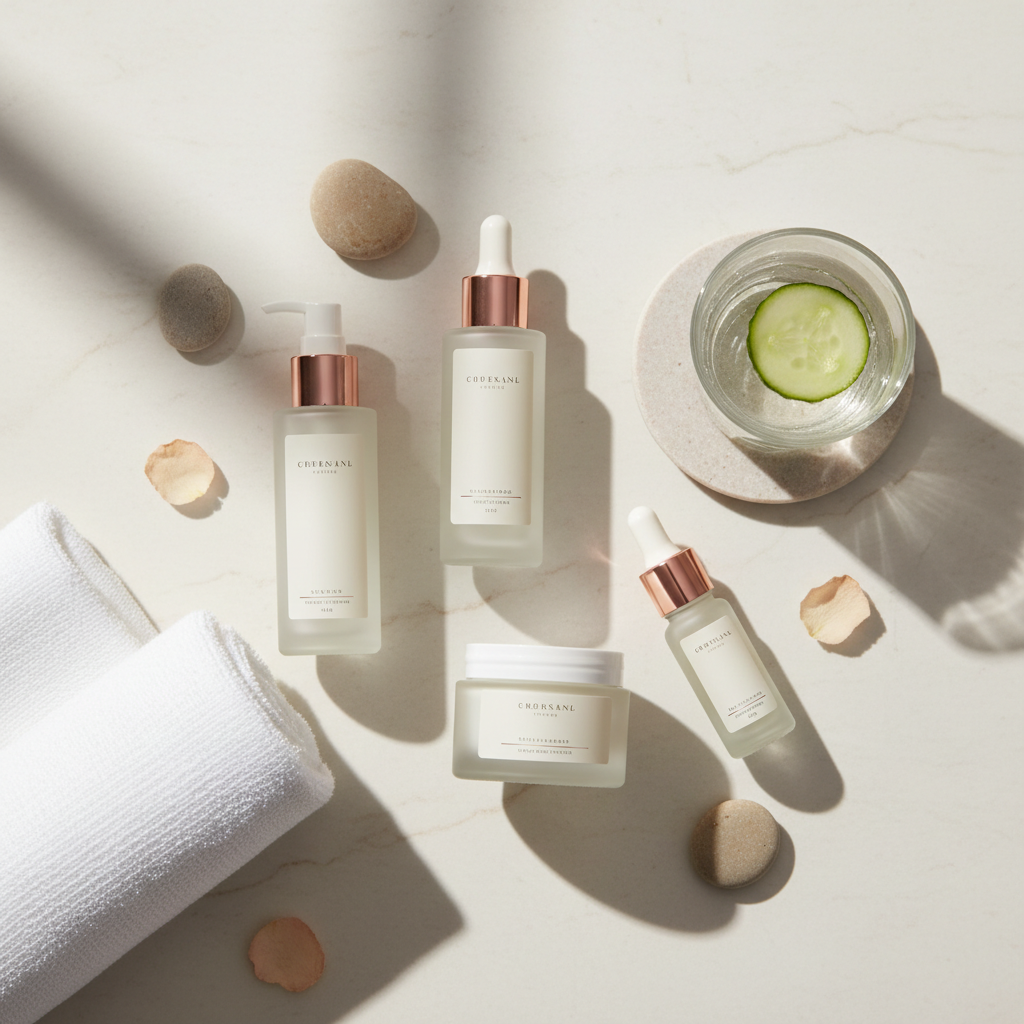
When we invest time and resources into professional skin treatments—whether that is microneedling, laser, or advanced skin rejuvenation—we all want to see the best possible outcome. However, the result of a treatment isn't determined solely by what happens in the clinic chair. It is heavily influenced by how you prepare your skin in the weeks prior and how you nurture it during the critical healing phase afterwards.
Think of clinical treatments like a marathon. You wouldn't show up to the starting line without training, and you wouldn't skip the recovery phase once you cross the finish line. In the dermal world, preparation and aftercare are what ensure your skin can handle the 'workout' and rebuild itself stronger.
Disclaimer: The information in this article is for general educational purposes only and does not constitute medical advice. Please book a consultation for a personalised plan tailored to your specific skin needs.
Why Preparation Matters
Preparing the skin is about more than just cleaning the surface. In a clinical setting, our goal is often to induce a controlled form of 'micro-injury' to stimulate the skin’s natural repair mechanisms. If your skin barrier is compromised or your cells are sluggish, your skin may struggle to respond effectively.
Proper preparation helps to:
- Minimise Adverse Reactions: Healthy, hydrated skin is less likely to experience prolonged redness or unwanted pigmentation changes.
- Enhance Efficacy: When the skin is well-prepped, active ingredients and energy-based devices can penetrate more evenly and effectively.
- Speed Up Recovery: Skin that is rich in essential nutrients and moisture tends to heal faster, reducing your downtime.
The Preparation Timeline: 2 to 4 Weeks Out
For most corrective treatments, we recommend beginning your preparation at least two weeks in advance. During this time, the focus should be on strengthening the skin barrier and regulating cell function.
- Hydration is Key: Use a moisturiser containing ceramides or fatty acids. Well-hydrated skin has better conductivity for many treatments and a more resilient barrier.
- Sun Protection: This is non-negotiable. We cannot treat skin that has recent sun damage or a tan (including fake tan). Daily application of a broad-spectrum SPF 50+ is essential to keep melanocytes (pigment-producing cells) stable.
- Tyrosinase Inhibitors: If you are prone to pigmentation or have a deeper skin tone, I may prescribe a pigment-regulating serum. This helps 'quieten' the pigment cells so they don't overreact to the treatment.
- Nutritional Support: Supporting your skin from the inside out with a balanced diet and adequate water intake helps provide the building blocks needed for repair.
The Final 3 to 5 Days
As you get closer to your appointment, it is time to simplify. We want the skin to be calm. Stop using high-strength Vitamin A (retinol), exfoliating acids (AHAs/BHAs), or harsh physical scrubs. These can make the skin overly sensitive during the actual procedure.
Navigating Post-Treatment Care
Once your treatment is finished, your skin enters the 'inflammatory phase'. While we often think of inflammation as a negative, in this context, it is a necessary part of the healing process. Our job during aftercare is to manage this inflammation so it remains productive rather than destructive.
The First 24 to 48 Hours
Immediately after a treatment, your skin may feel warm, tight, or look like you have a mild sunburn. The priorities here are protection and cooling.
- Keep it Clean: Use only a very gentle, non-foaming cleanser and lukewarm water. Avoid hot showers, saunas, and strenuous exercise that causes excessive sweating, as this can irritate the fresh skin.
- Hands Off: It can be tempting to touch or pick at any flaky skin, but this significantly increases the risk of scarring or infection. Let the skin shed naturally.
- Simple Hydration: Use only the post-care balms or serums recommended by your clinician. These are usually formulated to be occlusive enough to protect the barrier without causing congestion.
Days 3 to 7: The Rebuilding Phase
As the initial redness subsides, you might notice some dryness or 'micro-crusting'. This is a sign that the old skin is making way for the new.
- Sun Avoidance: Your new skin is incredibly vulnerable to UV damage. Stay out of direct sunlight and wear a hat if you are outdoors. Even if you are indoors, apply your SPF daily.
- Avoid Actives: Continue to avoid your 'active' skincare (like Vitamin C or Retinol) until the skin feels completely back to normal and any visible peeling has stopped. Usually, this takes about 5 to 7 days, but listen to your skin’s cues.
Long-Term Maintenance
Once your skin has healed, you can gradually reintroduce your regular routine. This is the time when the 'Big Four'—cleanser, moisturiser, sunscreen, and Vitamin A—do the heavy lifting to maintain the results we achieved in the clinic.
Common Aftercare Mistakes to Avoid
Even with the best intentions, it is easy to make mistakes. Here are the three most common ones I see:
- Using 'Natural' Remedies: Products like coconut oil or undiluted essential oils can be highly occlusive or irritating to compromised skin. Stick to clinically validated post-care.
- Applying Makeup Too Early: Most clinical treatments require a 24-hour window before applying traditional makeup to prevent bacteria from entering the open channels in the skin.
- Skipping Sunscreen on Cloudy Days: UV rays penetrate clouds. If you are healing from a treatment, an overcast day is not an excuse to skip protection.
By following a structured approach to preparation and aftercare, you are not just protecting your investment—you are giving your skin the best possible environment to revitalise and thrive. Every person's skin responds differently, so we always tailor these instructions to your specific treatment and skin type.
If you would like to discuss a personalised treatment plan and how to best prepare your skin, please book a consultation at the clinic.
Ready when you are
Not sure what your skin needs? Start with a consultation.
Chevonne will assess your skin, explain your options in plain language, and only recommend what suits your skin and budget.
Book online